 J. Patrick Fenton, CIS Dept., West Valley College
 E-mail to:
Using the MyITLab Installation Wizard
Step-by-step (more-or-less)
MyITLab's Installation Wizard is fairly well automated and should lead you step-by-step through the download and install process. But, as is true of most things, there are some preparatory steps that, if you do them before using the Wizard, will make the process go all that more smoothly for you. You should have already read the MyITLab Systems Requirements, and now you are ready to follow the steps below to configure your computing system to use MyITLab.
 |
To install MyITLabs, you need to use Internet Explorer version 7, and you need to have Administrator Rights for your computer. You should also allow pop-ups and enable Active X content for your browser. These settings are in the Tools option on the menu. It is possible to allow these items on your browser for MyITLabs; click the warning messages that appear to enable as needed, or change your Internet Explorer settings. |
 |
Navigate to the Adobe.com web site, look for the buttons illustrated to the left; click to download and install both Adobe Reader and Adobe Flash Player, following the instructions shown on the respective Adobe pages. Be sure to check/select the correct version for your operating system. Close this windows when you have completed the Adobe plug-in installations. |
 |
Navigate to MyITLab Log-in page. Do not log-in yet; you will first use the Installation Wizard to set up your MyITLab system. |
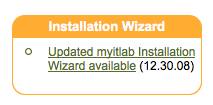 |
Click the link, "Updated myitlab Installation Wizard available" to start the MyITLab installation process. Follow the steps below and the on-screen instructions. The link to the wizard is on the top right side on the MyITLab log-in page. |
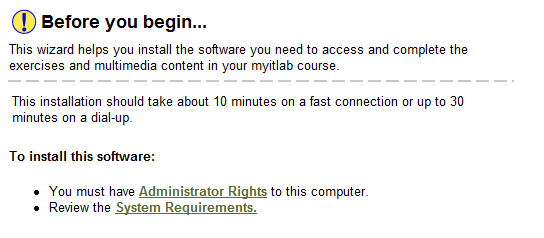 |
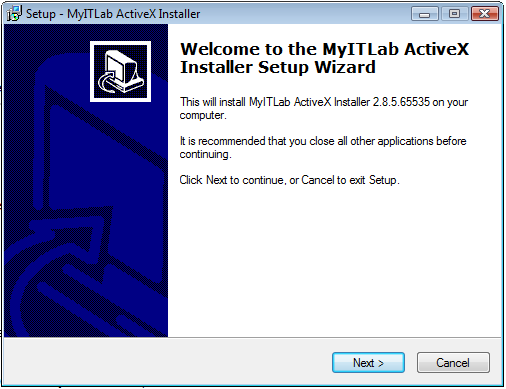
Hopefully, you have already verified your system and have administrator rights... you will see this window at the beginning of the installation process. For each step, look for and click the Next button at the appropriate time. |
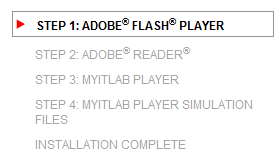 |
Each of the steps will be shown on the wizard's progress indicator. The first step, for example, is to install the Adobe Flash plug-in. |
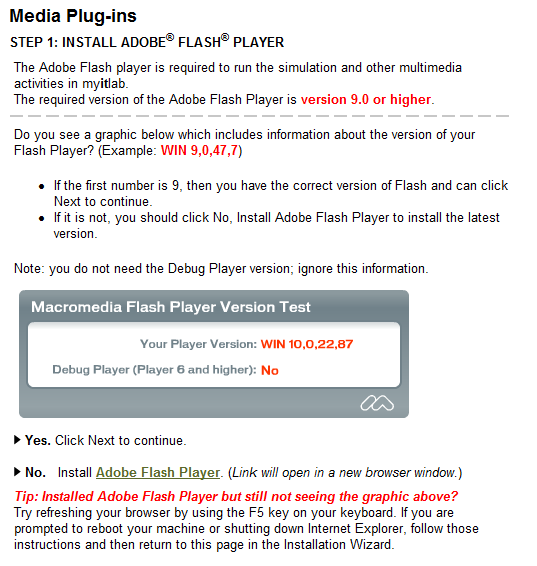 |
Step 1: Presuming you previously installed the Adobe software in the step shown above, the MyITLab Wizard will simply test your system's configuration and report that the plug-in is present. If you did not yet install the Flash plug-in, or if your system has the incorrect version, you will see a message and may click the link shown for "No." (see the lower portion of the image to the left) |
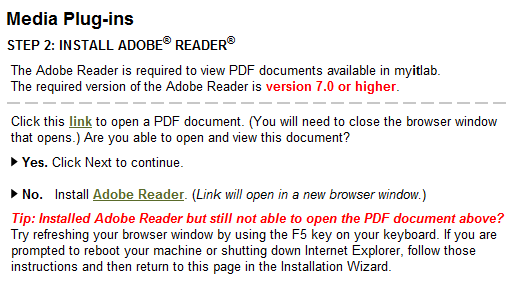 |
Step 2 verifies that your system has the appropriate Adobe Reader plug-in. Click the indicated link to open a PDF document to test your browser's plug-in; if it works, then simply click Next, else install the Reader plug-in as explained. |
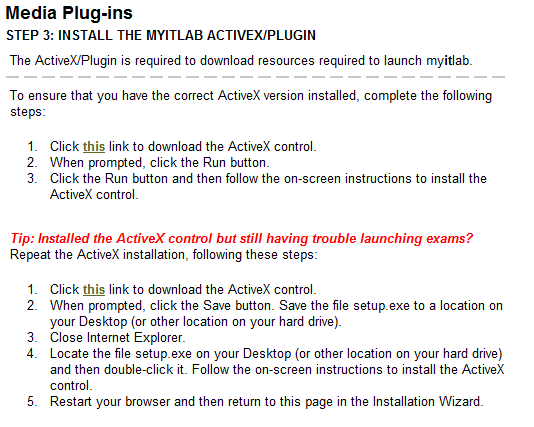 |
Step 3: Installing Active X elements. This is a more complex installation. The Active X software is specific to MyITLab; therefore, you will need to download and install that now. Active X installations are routinely blocked by Internet Explorer; thus you probably will see a yellow warning message just below your browser's Address bar. |
 |
The Active X warning will look something like the area in the image to the left - probably yellow in IE7 in Vista, perhaps blue if you are using XP. In any case, the message will alert you that there was an attempt to install an Active X element; you should click the warning message bar, click Allow Blocked Content, and then return to Step 3. |
 |
When Active X is enabled for your browser, you should see a dialog box in which you can select either Run or Save - select Run to start the installation. You should see the dialog box shown to the left. Follow the instructions to install the Active X elements for MyITLab. When it has completed, then click the Next button on the MyITLab window. |
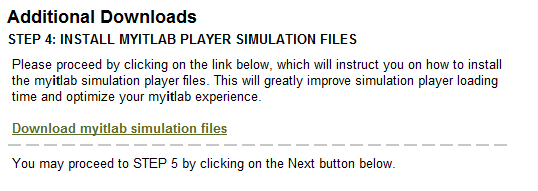 |
MyITLab contains quite a large amount of content, much of it in the form of MS Office 2007 simulations- i.e., not "real" Office but images of Office with training and testing. To speed up your MyITLab performance, it is highly recommended to download the Player Simulation Files. Click the link as illustrated to the left to download these files. |
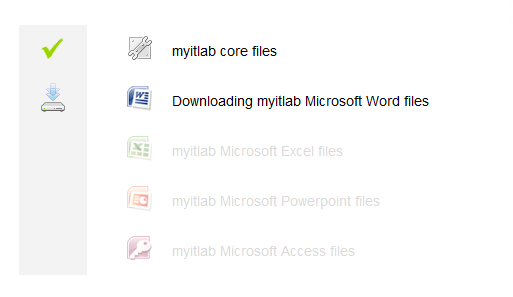 |
There is a progress indicator for the Simulation Files download. Each of the file groups is indicated, a green check-mark indicating the files have been downloaded. The process does take some time - at least 10 minutes on a high-speed connection, so allow a good 10-15 minutes. Take the opportunity to get up and stretch! When the file download is complete, close this window and continue on the MyITLab installation page by clicking Next. |
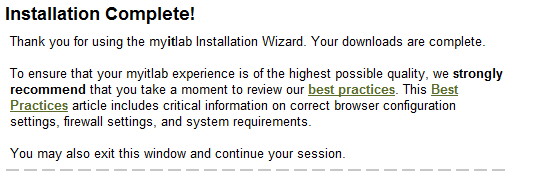 |
You have done it! Installation Complete! |
 |
The next stage is to log-in, create your user account, and enroll in the MyITLab course. You can continue to do this now, or take a break and do this later. To continue now, click this link to Log-in to MyITLab for the first time. |